

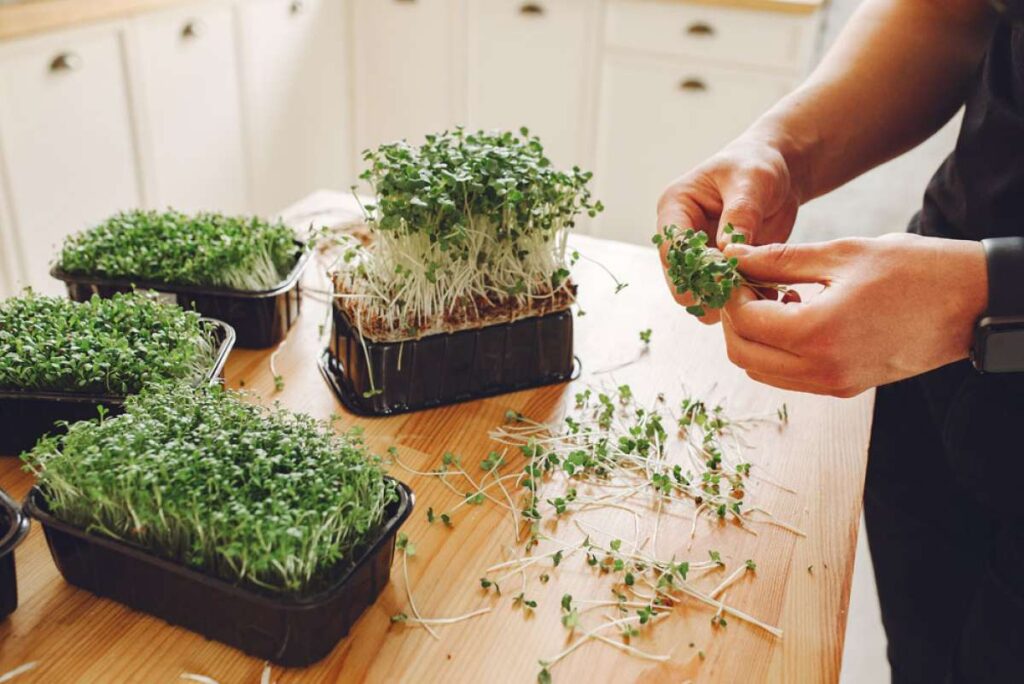
Have you ever thought about growing your own organic microgreens at home? It’s easier than you think! Growing microgreens is a fun, rewarding, and cost-effective way to add fresh, nutrient-dense greens to your diet. Whether you have a spacious backyard or a small apartment, you can easily grow these tiny powerhouses indoors or outdoors, and the process only takes a few weeks from seed to harvest. In this guide, we’ll walk you through everything you need to know about growing your own organic microgreens at home.
What You’ll Need to Get Started
Before you get started with growing microgreens, you’ll need a few essential supplies. The best part is, you don’t need a lot of space or fancy equipment. Here’s a list of what you’ll need:
- Organic Microgreen Seeds
Start with high-quality, organic microgreen seeds. Popular options include arugula, radish, sunflower, pea shoots, basil, and cilantro. Choose a few varieties that you enjoy eating and that suit your taste preferences. - Growing Containers
You can use shallow containers like seed trays, plastic takeout containers, or even recycled items such as egg cartons or old baking pans. Ensure that the container has good drainage to avoid waterlogging, which can cause mold growth. - Soil or Growing Medium
You can grow microgreens in either soil or a hydroponic growing medium like coconut coir or vermiculite. Organic potting soil works well, but if you prefer a cleaner option, hydroponic mediums are a great choice because they don’t introduce any contaminants to the soil. - Water
Microgreens need consistent moisture to thrive, so make sure you have a watering can or spray bottle to gently water them. Be careful not to overwater, as this can cause mold and other issues. - Light
Microgreens require plenty of light to grow strong and healthy. Ideally, they should receive 4-6 hours of indirect sunlight each day. If you don’t have a sunny windowsill, consider using a grow light to ensure your microgreens get enough light. - Tray Liner (Optional)
If you’re using a container without drainage holes, you can line it with a plastic tray or liner to catch excess water and prevent messes.
Step-by-Step Instructions to Grow Your Organic Microgreens
Now that you’ve got your supplies ready, it’s time to start planting! Here’s a step-by-step guide to growing your own organic microgreens at home:
1. Prepare Your Growing Container
Choose a container that’s shallow—about 1.5 to 2 inches deep is ideal. If your container doesn’t have drainage holes, make sure to line it with a tray to catch excess water. Fill the container with your growing medium (soil or hydroponic) up to about an inch deep, pressing it gently to create an even surface.
2. Sow the Seeds
Next, it’s time to sow your microgreen seeds. Sprinkle them evenly over the surface of the soil or growing medium. Be sure not to overcrowd the seeds; they need space to grow. A good rule of thumb is to scatter seeds so that they are about 1/4 inch apart. Some people prefer to gently press the seeds into the soil, but others just leave them on the surface. It depends on the variety you’re growing, so check the seed packet for specific instructions.
For varieties like radish or mustard greens, you can plant a bit more densely, while larger microgreens like sunflower or pea shoots may need more space.
3. Water Gently
After sowing the seeds, water them gently with a spray bottle or watering can. It’s important to keep the soil consistently moist but not soggy. Mist the surface of the soil lightly to avoid disturbing the seeds. If you’re using a hydroponic growing medium, be sure to keep the surface damp as well.
4. Provide Light
Microgreens need plenty of light to thrive. Place your container in a location where it will receive 4-6 hours of indirect sunlight each day. If you don’t have access to natural sunlight, you can use a grow light. Simply place the light about 2-3 inches above the microgreens and keep it on for about 12-16 hours a day. Be sure to rotate the container occasionally to ensure the microgreens get an even amount of light.
5. Keep the Soil Moist
Keep the soil moist throughout the growing process, especially during the early stages. You’ll want to check your microgreens daily and water them lightly if the surface feels dry. Be mindful not to overwater, as excess moisture can lead to mold growth.
6. Harvest Your Microgreens
Microgreens are typically ready to harvest in 7-21 days, depending on the variety. The plants will have developed their first true leaves (called cotyledons) and will be about 1-3 inches tall. To harvest, use clean kitchen scissors or shears to cut the microgreens just above the soil level. You can harvest them all at once or take small amounts as needed.
7. Enjoy and Replant!
Once your microgreens are harvested, you can enjoy them fresh in salads, smoothies, sandwiches, or as a garnish. The great thing about microgreens is that they are incredibly versatile and can be used in almost any meal. And if you want to keep your microgreens coming, simply plant a new batch in a different container, and repeat the process. Microgreens grow quickly, so you’ll always have a fresh supply of these nutrient-packed greens.
Tips for Growing Successful Microgreens
- Temperature: Microgreens thrive in temperatures between 60°F (15°C) and 75°F (24°C). Avoid placing them in a location where the temperature fluctuates drastically.
- Avoid Overcrowding: While it can be tempting to plant as many seeds as possible, overcrowding can lead to poor growth. Be sure to space your seeds evenly for optimal results.
- Keep an Eye on Mold: Mold is a common issue when growing microgreens. To prevent it, make sure you’re not overwatering, and provide good airflow to the growing area. If you see mold developing, remove the affected seedlings and adjust the moisture levels.
- Use Fresh Seeds: For the best results, always use fresh seeds. Older seeds may have lower germination rates and could result in sparse growth.
Why Choose Organik Gold’s Organic Microgreens for Home Growing?
At Organik Gold, we provide high-quality organic microgreens seeds that are perfect for home growing. Our seeds are non-GMO, chemical-free, and specially selected for their superior flavor and nutrient content. Whether you’re a beginner or an experienced grower, our microgreens seeds are easy to work with and will give you the best possible results.
Final Thoughts
Growing your own organic microgreens at home is an enjoyable and rewarding experience that allows you to add fresh, nutrient-packed greens to your meals. Whether you’re growing them for health reasons, sustainability, or the sheer joy of gardening, microgreens are a great addition to any home. With just a few basic supplies and a little patience, you can start enjoying the benefits of homegrown organic microgreens in no time!
Ready to start growing your own microgreens? Shop our high-quality organic seeds at Organik Gold and enjoy the freshest greens in the comfort of your own home.